Showing posts with label re-ferb. Show all posts

Thursday, July 7, 2011

from storage boxes to room decor/personalized bins

Supllies: I took left over fabric, ribbon, hot glue gun, and an iron
We had old large plastic storage tubs, and added them to Fisher's room. So, I had to personalize them for him.


They are fun and playful and cute! 

Wednesday, June 15, 2011

Kitchen Pallet


My new kitchen pallet!
supplies:
old pallet
paint
painters tape
exacto knife
Step1: sand, and gesso ALL pallets! you never know what they could of been carrying, and this will seal any harmful substances in

Step 2: tape off! or let your toddler help
Lol, once he is done, finish it up


Step 3: paint your ideas
I used four colors: white, pale yellow, marigold yellow, and red/orange in what I call charlie brown zig zags!


then I thought it looked a little tribal for my mod style, so I figured it was for the kitchen, so I kitched it up~


and VOILA!


kitchen art

Tuesday, June 7, 2011

old cans to desk organizers


Supplies: old fabric that matches baby jar organizers, hot glue, ribbon, old cans
-Step 1: Using fabric from past projects I wrapped cans with previously used fabric with hot glue gun
-Step 2: Wrap ribbon around top of can, and wrapped bottom edges of fabric around the can
-Step 3: ....VOILA! perfect for scissors, pencils, pens, and wooden dowels!

can and jar organizers

old baby food jars-to desk organization

From difference sized cans-to matching desk organization for my craft room /office

Supplies: fabric, hot glue, ribbon, scissors, jars or cans, chalk paper stickers

Step 1: wrap fabric around jar using hot glue
Step 2: wrap ribbon on lid and around jar for pop
Step 3: use chalk paper on top of the jars, to describe what they hold (mine hold buttons, pins, needles, and left over yarn)
Cost: fabric $2 a yard (only used 6"x6" piece)
                 + $1 for 1 foot of ribbon
                   free jars
                    $4 (for 6 ft) used about 6" of chalk paper
                  ________
                   $8 less than that, with plenty tools left over for another project

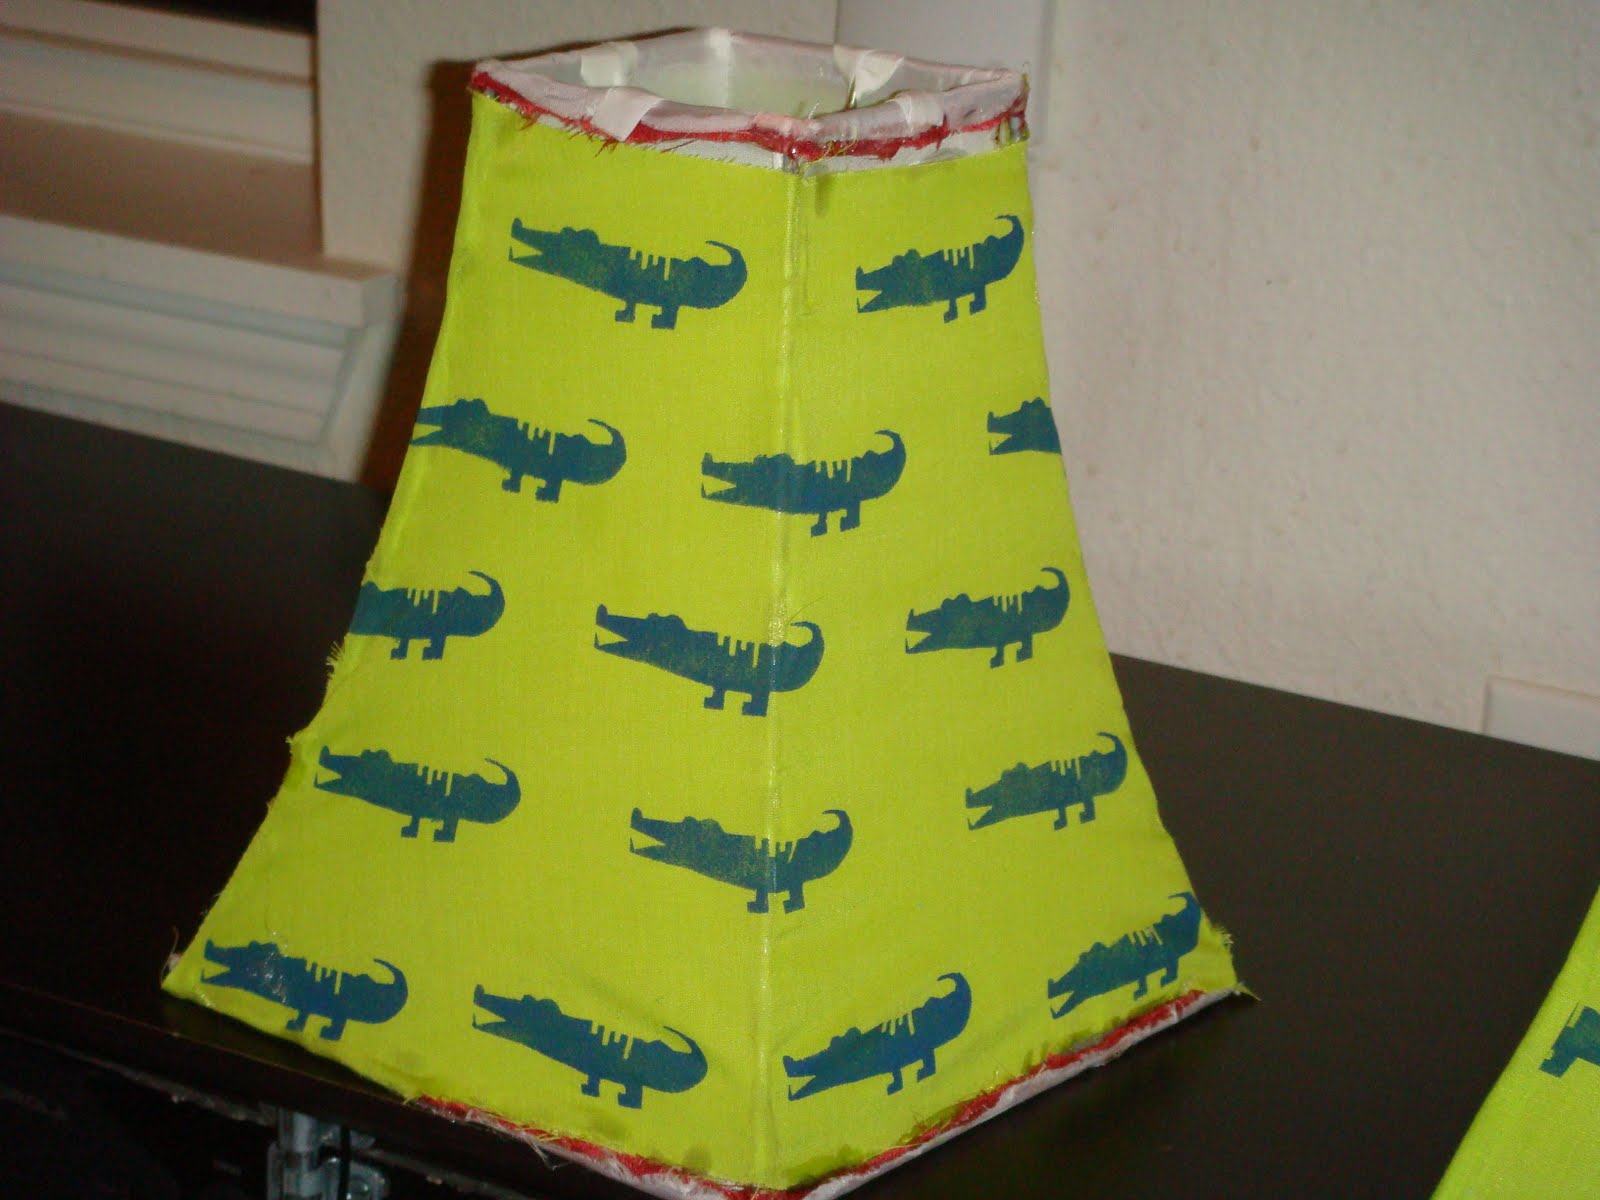
from cheap, ugly lamp shades to WOW!


Supplies: scissors, exacto knife, fabric, hot glue, iron, paint, ribbon

I had old lamps I got for $10.00, I bought them, they were ugly, but decided to give them a re-ferb!
-Step 1: I stripped the old fabric from the lamp (CAREFULLY) with an exacto knife, so that I could retrace the correct size, with the new fabric
-Step 2: I traced the old fabric, onto new fabric, and cut it out...I chose to stencil and paint my design on the new fabric


-Step 3: I used the hot glue to wrap TIGHTLY! around the edges. (go slow! so that you dont get wrinkles!)


-Step 4: Next, I cut and ironed edges down for the corner coverings

-Step 5: Then, I cut out and double glued ribbon as my trim
. . .and VOILA! custom lamp shades!